Before moving our new letterhead logo into position, we can set up some columns at the top. That way, the logo can go in the right column and you'll be able to type in the left one. If that's not too clear, don't worry - you'll see how it works.
To add columns to just the top of your page, hold your left mouse button at the top left of your page. Keep it held down and select to about a quarter of the page, as in the image below:
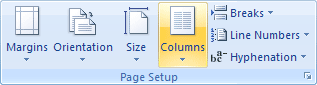
With the selection made, click the Page Layout tab at the top of Word. Locate thePage Setup panel and the Columns item:
When you click on Columns a menu will appear. This one:
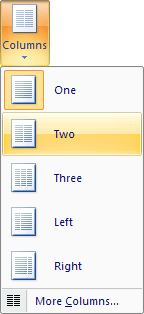
Select Two from the menu. Two columns will then be set up on your page, but just for the area you selected. To test this out, drag your new logo to the top right. Now click on the top left of your page. You should see something like this:
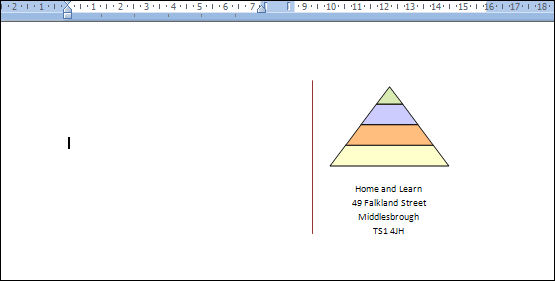
Note the ruler bar at the top. The white areas are your two columns. (If you can't see a ruler, click the View tab at the top of Word, then select Ruler from the Show/Hidepanel.)
If you now click halfway down the page the two columns will disappear. What this means is that you can have your logo on the right, and a send-to address on the left. Outside of the columns, you can type a letter across the full width of the page. The image below shows this in action: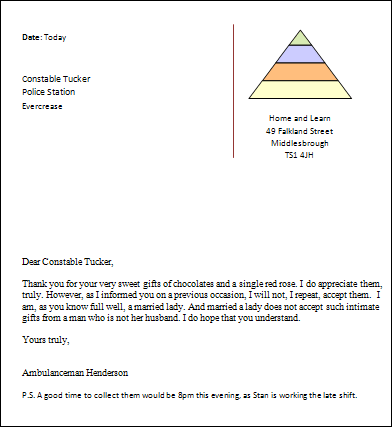
As you can see, our logo is on the right and an address on the left. The text of the letter stretches across the page.
No comments:
Post a Comment