Another useful item on the Customize tab is the Customize button just to the right ofKeyboard Shortcuts:
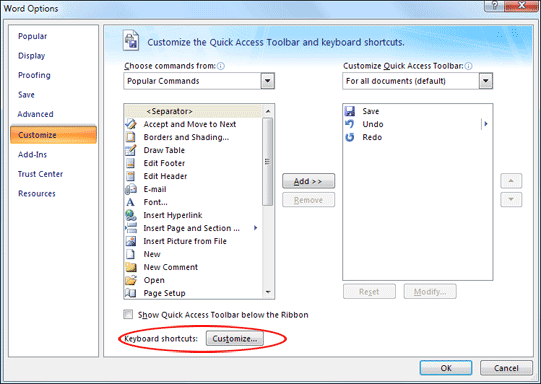
Click the Customize button to see the following dialogue box:
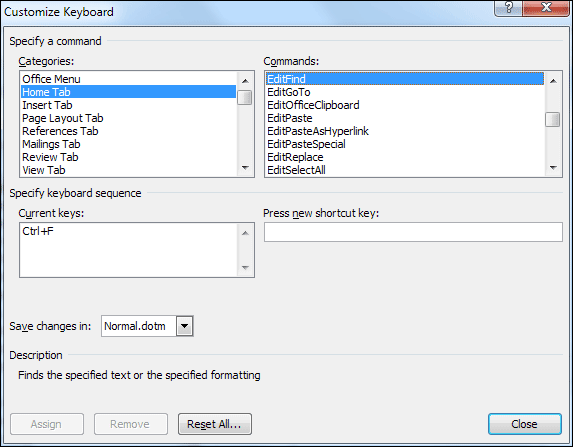
An example of a keyboard shortcut is to press the CTRL key on your keyboard. Keep it held down and press then letter F. This will bring up the Find and Replace dialogue box.
In the image above, this very shortcut has been selected. Under Categories we selected the Home Tab, which is where the Find and Replace dialogue box is located. Under Commands, we've select EditFind. The shortcut itself then shows up in theCurrent Keys text box (Ctrl + F).A lot of the items on the Commands list don't have shortcuts, however. So you need to set your own, if one hasn't been assigned. Examine the Image below:

The Insert tab in Word is where you'll find the Picture item. Clicking this brings up a dialogue box. You then select the image you want to insert into your Word document.
We use the Picture item a lot so have set up a shortcut key for it. After selecting the items we want in the first two boxes at the top (Categories and Commands) we then click into the text box below "Press new shortcut key". After holding down the CTRL key and the question mark key these then appear in the text box. The Current keys text box is blank, and this tells us that our chosen shortcut keys are not being used (Currently assigned to: [unassigned]). If you see shortcuts already in the Current keys text box then it means those keys are already in use. When we were happy with our shortcut keys we then clicked the Assign button in the bottom left. After returning to Word we were then able to press Ctrl + ? to bring up the Insert Picture dialogue box.
No comments:
Post a Comment