Resizing Clip Art
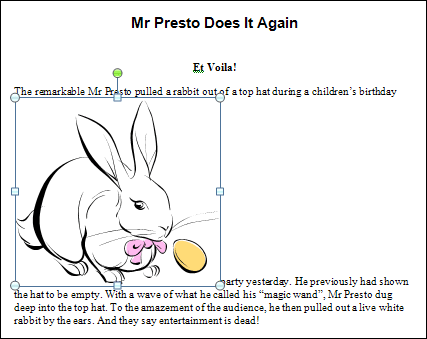
If your clip art is too big or too small you can resize to suit your needs.Click on your image with the left mouse button. You should see some little white squares and circles appear around the edges of your Clip Art. These squares and circles are the sizing handles. The squares are used to change the height or width, while the circles are used to make the whole image smaller or bigger. You can see them in the image above.
To change the size of your image, move your mouse pointer over one of the circles, the bottom right circle is the best one for our purposes.
When you move your mouse pointer over a circle or square, the mouse pointer will change to the shape of a double headed arrow.
When your pointer has changed shape, hold your left mouse button down. The pointer will now change into a cross shape. With your left mouse button held down, drag your mouse outward to make the image bigger, and inward to make it smaller. Let go of the left mouse button when you're happy with the size.
If you let go of the mouse button and the image is not the size you want, just try again. If your image loses the white squares and circles around the edges, click on the image to get them back.
Moving Clip Art
To move your image to the right hand side, try this:
- Click on your image to get the sizing handles back
- Hold down your left mouse button
- Keep the left mouse button held down
- Drag your mouse to the right
What happens? Nothing! The image refuses to move to the right hand side! What's going on? And how do you move an image in Microsoft Word?
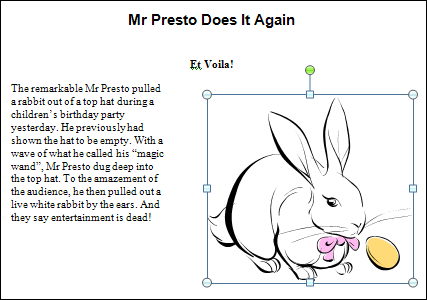
The reason the image won't move to the right is because of the way it is formatted. The wrapping style is set to "In line with text". What this means is that you can move your image up, and the text will shift to the top and bottom of the image. But it won't move to the right. It will be like this one below:
To move your image anywhere on the page, do the following:
- Click on your image so that it has the sizing handles around its edges
- From the Ribbon at the top of Microsoft Word, make sure the Format tab is selected, if it's not already
At this stage, you could choose a style for your picture, if you wanted. Try some of them out. Move your mouse over any of the Picture Styles to see what happens:

If you find one you like, you can click on it to insert that style.
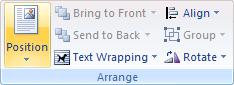
But leave the style alone, and locate the Arrange panel. The option we're looking for isPosition:Position means the position of the image in relation to the text. We want it square and to the right.
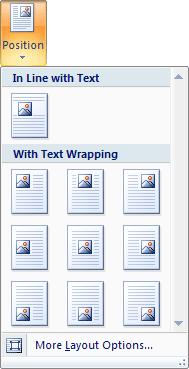
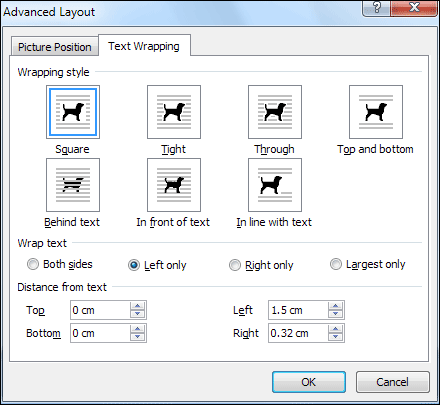
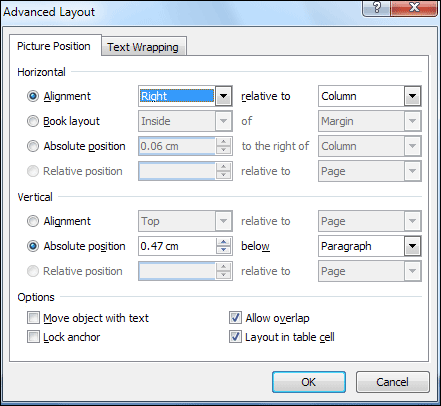
Click the arrow on the Position option to see a dropdown list:Again, move your mouse over each one to see what they do. But don't left click any. Instead, click the link at the bottom that says "More Layout Options". When you do, you'll see this dialogue box (select the Text Wrapping tab if it's not already selected):
Select the same option we have, in the image above:
Wrapping Style: Square
Wrap Text: Left Only
Distance from Text: 1.5 cm Left (0.59 inches)
When you have set the three options above, click the Picture Position tab at the top of the dialogue box.Wrap Text: Left Only
Distance from Text: 1.5 cm Left (0.59 inches)
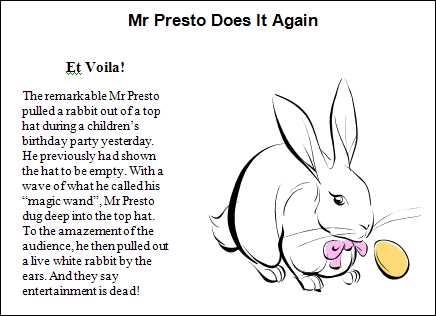
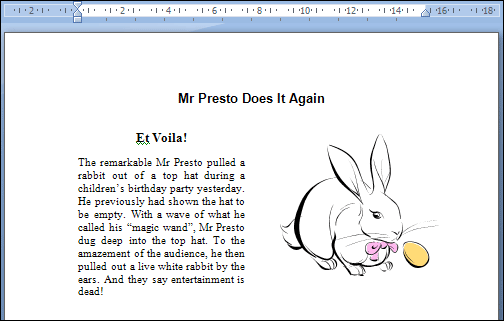
For the Horizontal alignment, set it Right. Then click OK on the dialogue box. Your article and image should then look like this:
You should now be able to move your image around the page. Position it on the right, with the top of the image aligned with the top of the article text. Now select the text of the article and change the font size to 14. Change the size of the headings as well, any size you want. Your article will then look something like this:
To straighten the right edge of the text, do the following:
- Highlight all the text from "The remarkable Mr Presto" right down to the end "And they say entertainment is dead!"
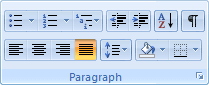
- Click the justify icon in the Home tab, on the Paragraph panel:
No comments:
Post a Comment